Metrology Laboratory
Metrology Lab
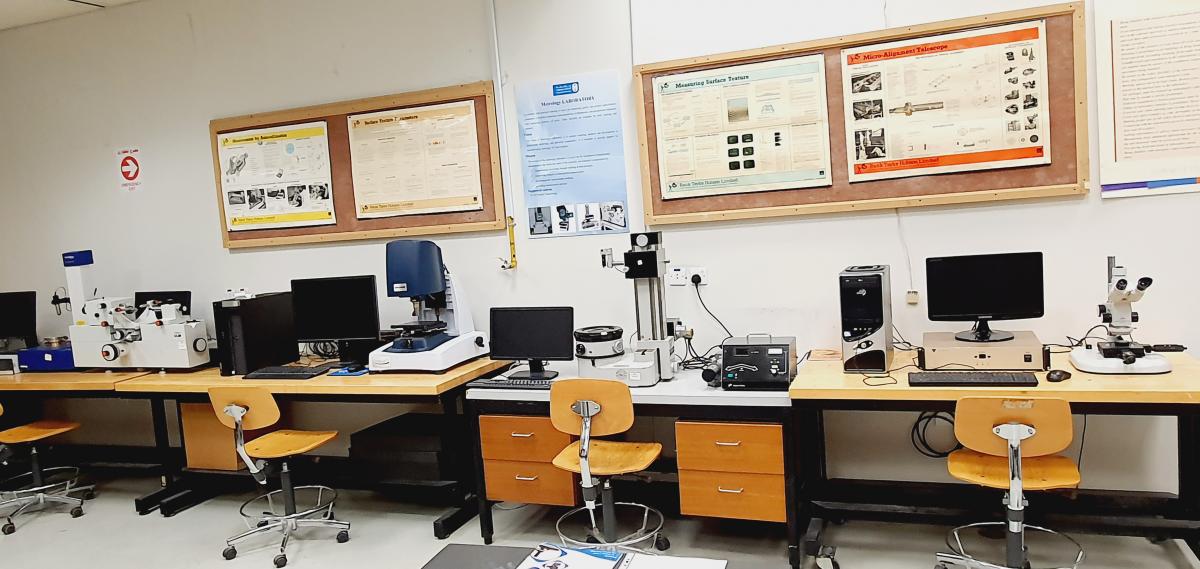
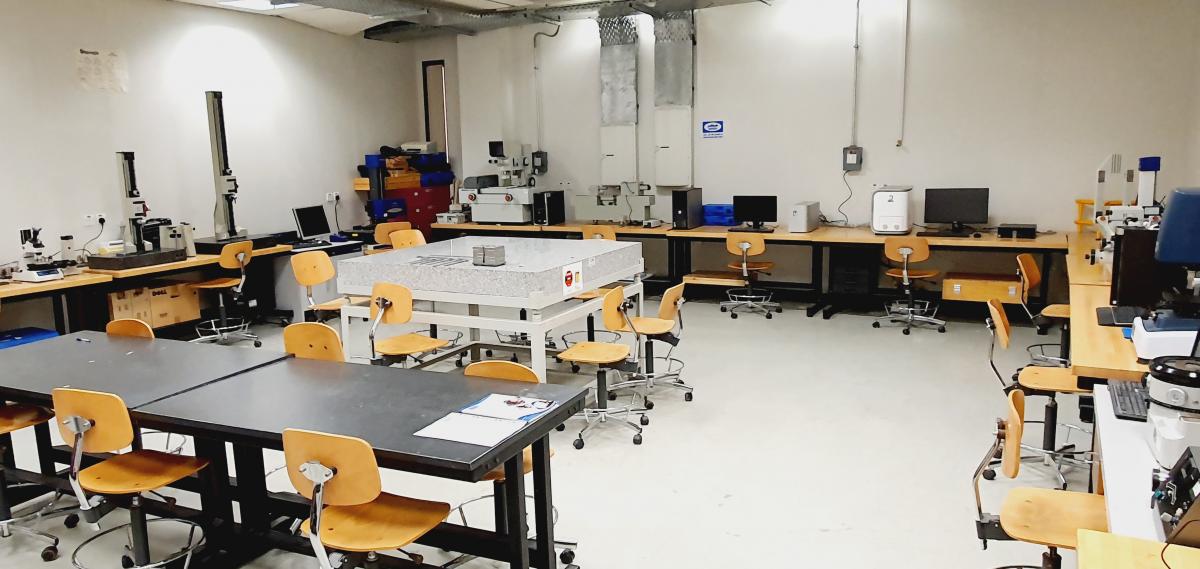
The purpose of this laboratory is; to familiarize students with laboratory measuring devices, to study the measurements methods, to learn proper measuring techniques through simple measurements of mass, length, and time, and to learn to express the results of calculations so as to correctly reflect the effects of measurement uncertainty. Examples of the machines, equipment, and instruments included in the IED Metrology Lab include:
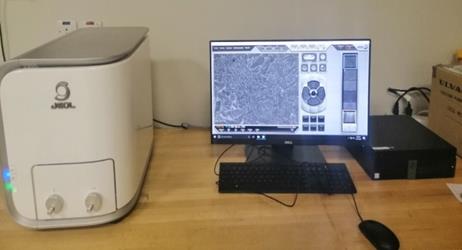
- Scanning electron Microscope (SEM, Jeol Japan)
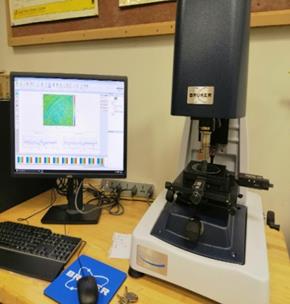
- 3D surface profilometer (Contour-GTK, Bruker, USA)
- Stylus based profile and roughness scanner (Form Talysurf from Taylor Hobson)
- Portable roughness testers
- Optical microscopes
- Optical comparators
- Auto collimator
- Height measurement LVDTs
- Vernier calipers
- Screw gauges
- Slip gauges
Following are real photos of some machines and equipment in the Metrology lab.
 |
 |
Scanning Electron Microscope (SEM)with backscattered imaging capabilityA tabletop scanning electron microscope (SEM) (Model JCM 6000Plus) from Jeol, Tokyo, Japan can be used to examine the surface morphologies and materials phase analysis.
|
|
3D ProfileA 3D optical profilometer (Contour GT-K) from Bruker (Berlin, Germany) is used to measure the roughness and 3D surface characteristics. |
 |
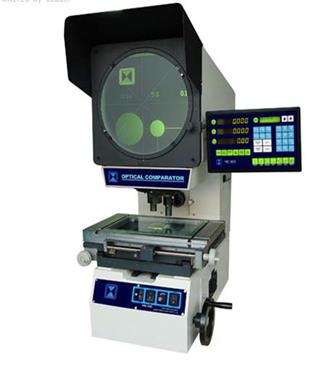
Profile ProjectorThis machine is used to measure and inspect all kinds of surface and outline of complicated work-pieces, such as cam, screw thread, gear, milling cutter, tools, dies, press components and so on. |
 |
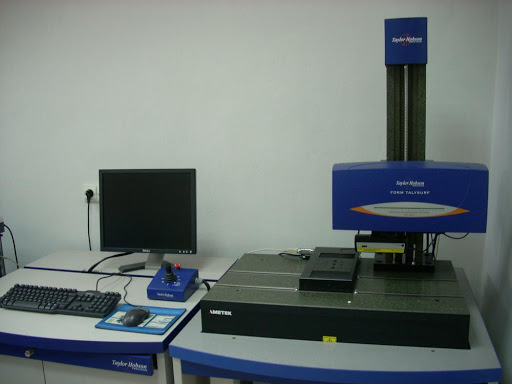
Form TalysurfForm Talysurf 50i Series 2 (S3C) for measuring form and surface finish. |
 |
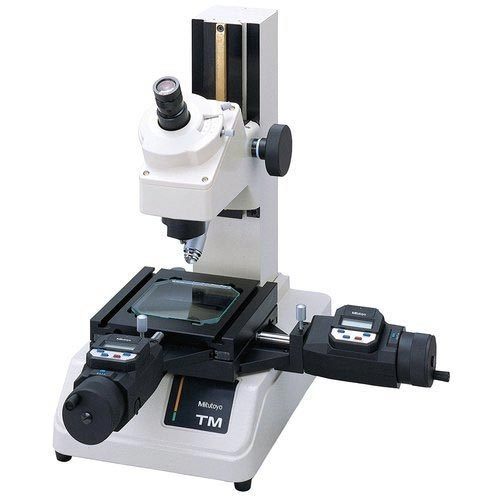
Tool maker’s microscopeThis is device used to measure up to 1/100th of a mm. these microscope suitable for such functions as the inspection and measurement of various miniature mechanical and electronic parts. |
 |
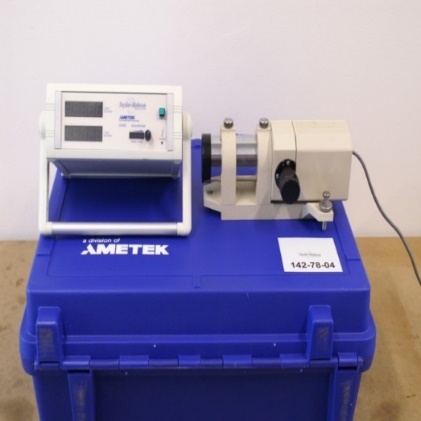
AutocollimatorsThis is device used for measuring angles, straightness, flatness, squareness and parallelism. |
 |
For more information about the IED laboratories, please download the following IE bulletin:

